

Aeropress ®
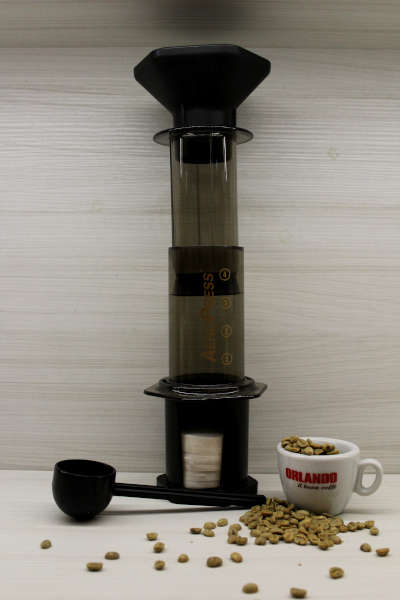
Aeropress ® combines two brewing methods: steeping ground coffee in water, and forcing the brew through a paper filter.
There are two ways to use this tool. The quantities of water and ground coffee vary according to personal taste. We recommend starting by experimenting with one variable at a time, beginning (for a single cup) with 15g of ground coffee and 200ml of water.
How to use an Aeropress®
Place a paper filter in the filter holder, heat the water and bring it to the boil for 10–20 seconds. Pour it into the container and add the ground coffee. Stir and insert the plunger without pressing down. Leave to infuse for at least another minute. Place the Aeropress on the cup and slowly press down on the plunger until the brew has been released.
Pour-over, or V60 filter coffee maker
The pour-over, or V60 filter coffee maker, is a brewing method that involves filtering ground coffee through a filter (usually made of paper) placed inside a funnel.
How to make a pour-over
Pour boiling water over it, which will infuse the flavour and aroma of the coffee.
The ratio of water to ground coffee is a matter of personal preference for those who enjoy this drink. The quantities of these ingredients are determined by trial and error, depending on whether you prefer a stronger or a more delicate flavour.
Cold Brew Coffee
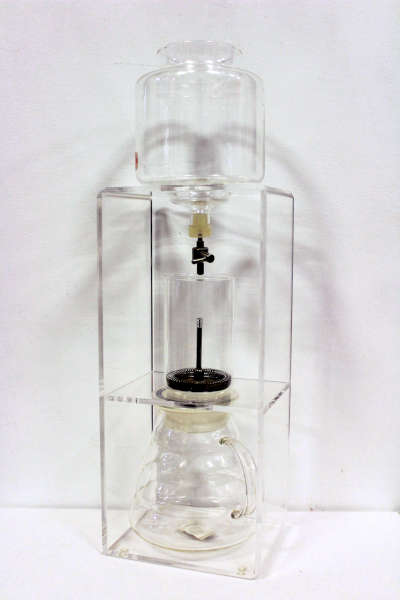
Cold brew coffee is a method of extracting coffee using cold water, which produces results that are completely different from the usual iced coffee found in cafés during the summer, or the kind we make at home using a moka pot and then chill in the fridge.
There are, in fact, two key elements that distinguish cold brew coffee: water at room temperature and slow extraction.
The device used is called a cold brew dripper, or Toddy, named after its inventor, Todd Simpson. It consists of three parts: the top container for adding water, the middle container for adding ground coffee, and the bottom jug, into which the drink percolates.
How to make cold brew coffee
Grind approximately 48 grams of coffee to a coarse consistency, preferably choosing fragrant, floral and aromatic varieties. This quantity is sufficient for approximately 1 litre of water and ice.
Electric filter coffee machine – American coffee
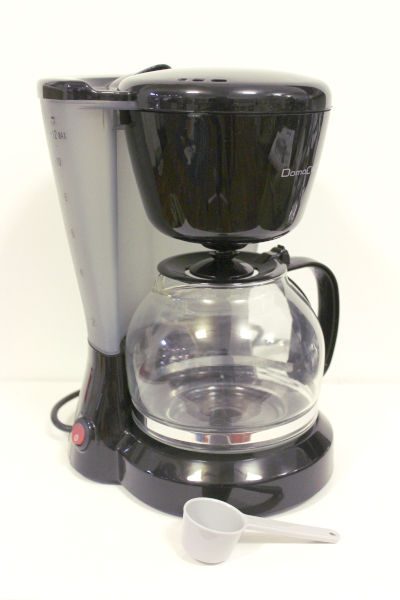
The electric filter coffee machine is particularly practical and easy to use, as the machine does everything itself, apart from filling it with water, inserting the filter and adding the ground coffee. This is how you make the famous American coffee.
HOW TO PREPARE IT
To start with, you can try a ratio of 60 grams of ground coffee per litre of water. It is more effective to adjust the grind size carefully than to vary the amount of ground coffee.
We recommend filling the tank with water low in mineral salts, to allow for better extraction.
Place the paper filter in the basket and rinse it with hot tap water. Insert the basket into the machine, add the ground coffee and switch on the machine, stirring the coffee if necessary.
Convenience of the electric filter coffee machine
Most electric filter coffee machines are fitted with thermal carafes, which will keep the drink hot without continuing to heat it.
Vacuum coffee maker – Siphon – Vacuum Brewer
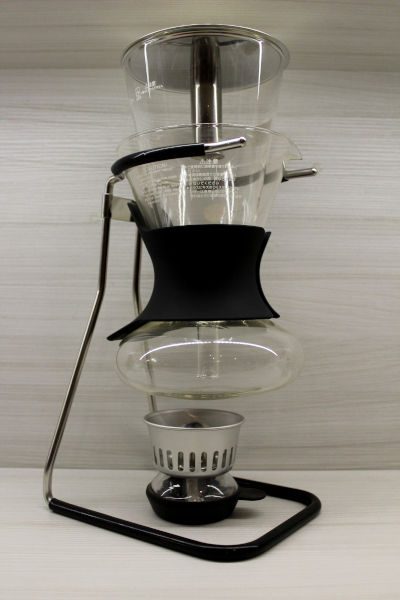
The vacuum coffee maker, also known as a siphon or vacuum brewer, is a coffee brewing method that is both intricate and fun, as it makes use of the pressure differences created by the steam generated.
It is certainly not the quickest or most practical way to make a coffee, but it is quite spectacular!
Your first attempts at brewing may result in a coffee that isn’t entirely satisfying, but once you understand how it works and the correct proportions, making coffee can be a fascinating exercise in applied science.
It was invented in Germany in the first half of the 19th century. The patent dates back to 1838 and was taken out by the Frenchman Jeanne Richard.
How to prepare a vacuum coffee maker
Grind the coffee to a ratio of 75g per litre.
The vacuum coffee maker consists of two glass chambers. Water is poured into the lower chamber, and the ground coffee into the upper one. Once the two flasks are locked together, the lower flask should be placed on a heat source, which can be an alcohol burner, a camping stove or a halogen lamp in more advanced models.
Once the heat source is activated, the steam generated inside the lower flask will push the water into the upper flask through the siphon. Above this, in the upper chamber, is the filter (usually made of fabric or paper). Once all the hot water has risen into the upper chamber, leave the heat source on, as the steam will continue to ‘push’ the water upwards. Pour the ground coffee into the upper chamber. The water and coffee will then steep; take care to stir until a sort of compact foam forms on the surface. After about thirty seconds, stir briefly and the brewing is complete.
Turning off the heat source will cause the steam to condense into water, reducing the pressure in the lower chamber. The resulting vacuum will create a suction effect from the lower chamber, leaving the ground coffee in the filter in the upper chamber.
Your coffee is now ready. We recommend allowing it to cool slightly, as the process causes it to reach very high temperatures.
French press
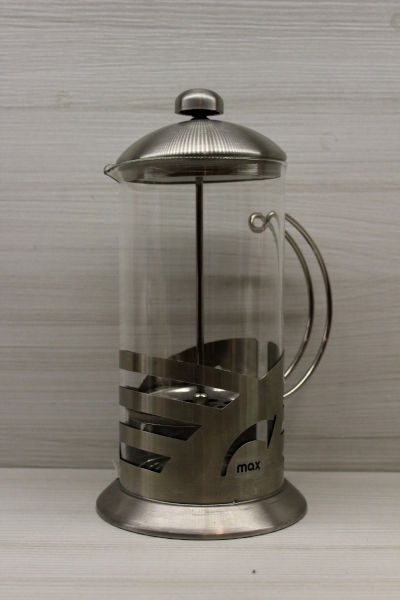
The French press is perhaps the simplest and most economical method of coffee extraction.
It was invented by the Italian Attilio Calimani in 1929 as a development of a similar coffee maker created by Mayer and Delforge in 1852.
How to make coffee using a French press
The French press works by steeping coarsely ground coffee in hot water. These are left to stand together in the jug, taking care to give them a vigorous stir after pouring in the water.
The plunger lid is then placed on the jug; at the bottom of this is a metal filter.
After about 4 minutes, pressing down on the plunger filters the ground coffee, which is compressed into the lower part of the jug. A longer infusion time results in a stronger, more full-bodied coffee, as the water extracts more essential oils, fats and aromas from the ground coffee.
The French press can also be used with water at room temperature. In this case, it is known as cold brewing. The coffee will be more fragrant because the aromatic compounds will not have evaporated due to heat. Furthermore, the flavour will be milder, with lower acidity and bitterness.
Neapolitan coffee pot (or cuccumella)
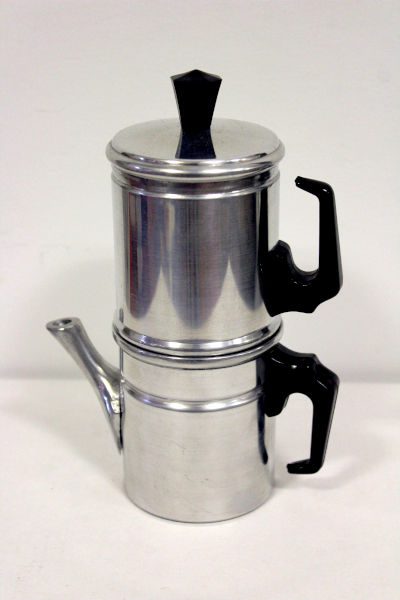
The Neapolitan coffee pot, affectionately known in Naples as a ‘cuccumella’, actually has French origins.
It was in fact invented by Morize in 1819, and from 1886 onwards the copper from which it was made was replaced by aluminium.
The Neapolitan coffee maker offers an easy and fairly quick method of brewing, despite being associated with the pleasure of savouring a good cup of coffee at one’s leisure.
How to make coffee in a Neapolitan coffee pot
Fill the boiler, taking care to stop a few millimetres below the opening.
Place the cylindrical funnel on the boiler, fill it with medium-fine ground coffee, and screw the filter on as far as it will go.
Firmly attach the top part (the one with the spout) to the water and coffee reservoir.
Turn on the heat until a little steam escapes from the spout. Then turn off the heat and turn the Neapolitan coffee maker upside down.
As the coffee maker is turned upside down, the boiling water will pass through the ground coffee under the natural force of gravity. It takes between 5 and 10 minutes for all the water to filter through. Your cuccumella is ready!
Unlike a moka pot, the absence of high pressure results in a gentle extraction, giving the drink a light body and full flavour.
Moka
The moka pot is one of the most widely used methods for brewing ground coffee in Italy. It was invented by Alfonso Bialetti in 1933 in his own workshop, which specialised in aluminium semi-finished products.
It is easy to use, making it ideal for frequent use throughout the day. However, this ease of use hides a few pitfalls. Knowing what these are makes all the difference between getting a good cup of coffee and a burnt one.
The main feature of the moka pot is that it extracts the coffee quickly at a high temperature.
This can result in a very bitter drink, often excessively so. We therefore advise against choosing dark-roast coffee if you do not like this flavour.
For the same reason, it is best to choose a grind that is not too fine, so that the hot water can pass through the filter-doser more quickly.
How to make a Moka pot
The ground coffee should be added to the chamber without being pressed down or compacted. It is best to level it off evenly.
Once the top chamber has been screwed on, the moka pot is ready to be placed over a medium-low heat source. Increasing the heat will raise the pressure and speed up the brewing process, thereby increasing the risk of extracting more acidic compounds.
You can turn off the heat source when the moka pot begins to bubble, as this is a sign that most of the hot water has risen. Leaving the heat on will also cause steam to rise, which will extract the bitter compounds from the coffee.
IMPORTANT POINTS TO NOTE
SEAL
It is important that the gasket ensures the seal is airtight. It must be intact, firm and correctly positioned. Otherwise, there will be a loss of pressure as the hot water rises. The gasket will also seal effectively if the contact surfaces are free of ground coffee. The most durable and reliable gaskets are made of silicone.
SAFETY VALVE
Given the pressure that builds up in the boiler, it is important that the safety valve is always in good working order. For this reason, the water level should never be above the valve itself. Furthermore, if the water is particularly hard, calcium carbonate could block the valve.
CLEANING AND MAINTENANCE
We would like to dispel the common misconception that the moka pot should simply be given a quick rinse rather than being thoroughly cleaned, just like any other item that comes into contact with food. This is incorrect, as any residual substances that are not removed will oxidise and impart unpleasant aromas and flavours to the drink – in other words, genuine organoleptic defects. Finally, it is important to ensure that all parts of the moka pot are kept completely dry. Otherwise, mould will develop inside, giving the coffee a terrible taste, as well as being harmful to health.
You might also be interested in...


Popular products
-
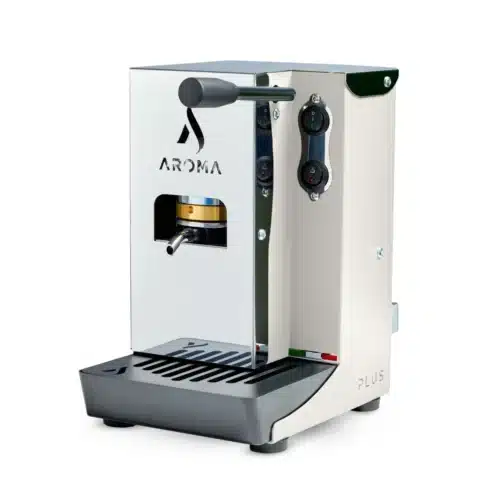 Espresso Plus Basic Machine
from 160,00 €
Espresso Plus Basic Machine
from 160,00 €
-
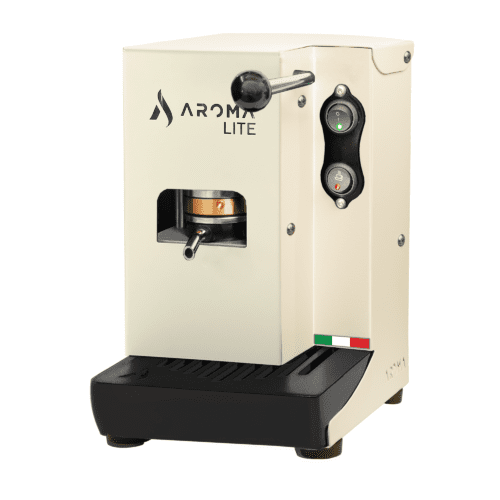 Aroma Lite espresso machine
from 155,00 €
Aroma Lite espresso machine
from 155,00 €
-
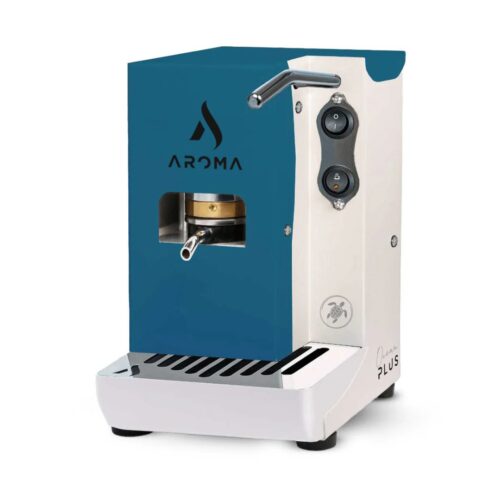 Espresso Plus Special Ocean Machine
195,00 € including VAT
Espresso Plus Special Ocean Machine
195,00 € including VAT
-
 ESSENZA 1923 – 100% ARABICA ground
from 9,60 €
ESSENZA 1923 – 100% ARABICA ground
from 9,60 €